Archive:Developer Roundtable 2: New 'n' Tasty's Art Goes Under The Knife: Difference between revisions
No edit summary |
m (Wil moved page 2013/12/06 - Developer Roundtable 2: New 'n' Tasty's Art Goes Under The Knife to Archive:Developer Roundtable 2: New 'n' Tasty's Art Goes Under The Knife: Migration) |
(No difference)
| |
Latest revision as of 11:45, 1 August 2019
Description
About
- Published: 06 December 2013
- Host: Oddworld.com
- Author: Oddworld Staff
- Game: Oddworld: New 'n' Tasty
- Format: Publised Online
The Designer Diary
Want to know how the developers are making New 'n' Tasty look new 'n' tasty? Find out in our second Developer Roundtable.
Following our first Developer Roundtable, this week we get to the bottom of how we make Oddworld: New ‘n’ Tasty look, well, new ‘n’ tasty. This week’s question comes from Ceri Davis, who asks:
“For Unity, do you do all the modelling exclusively in Maya? Do you use any sculpting? What’s the pipeline and flow for an artist working on New ‘n’ Tasty?”
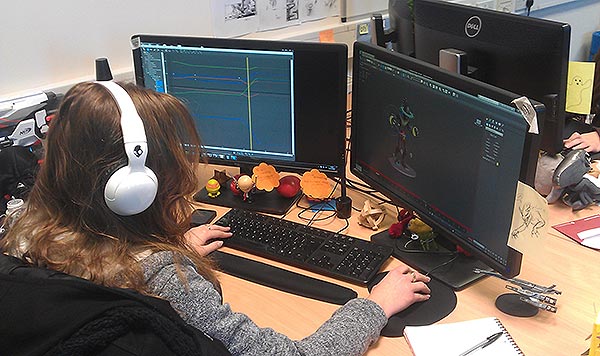
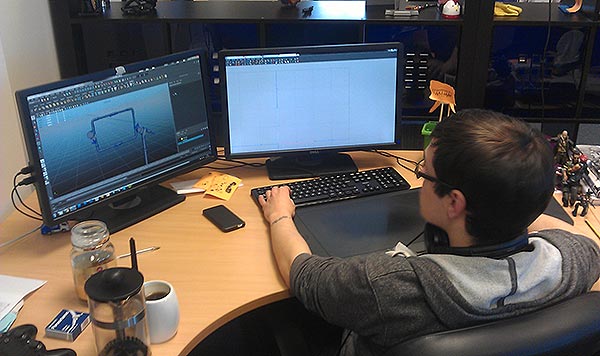
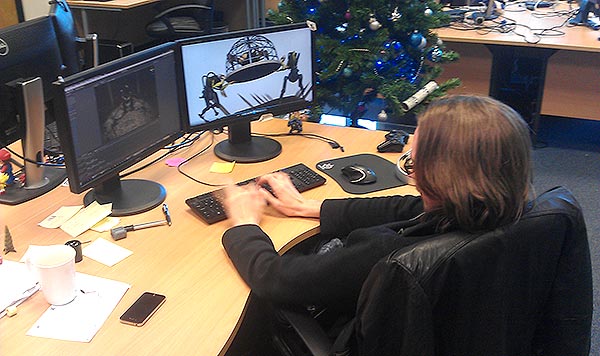
We’ve rounded up three team members to discuss the topic. So: we’ve got Maya, animator; Colin, one of our environment artists; and Tom, who’s working on cut-scene composition and assembly after building much of the original character art.
Maya: “So I start in Autodesk 3DS Max, a commercial modelling and animation program. All of our characters (Abe, Sligs, Scrabs, etc.) were modeled at the start of the project before starting animation, so I’ll load up the appropriate model, then build up the rig from scratch, for each character where necessary. If it’s a character that’s similar to something in the real world, then I’ll go and do some research first, and I’ll base any and all helpers I might need to create for that character on the research I’ve done.
“Helpers are used to control multiple bones at once – for instance, Abe has four helpers along his spine, going from upper shoulders to lower back.
“Abe’s face rig is a little different, due to the motion involved – he doesn’t have any helpers, and the animations are just controlled directly by bones. Once I’m done rigging the character and setting up the helpers, I’ll skin the character. And after that, I’ll block out the key poses for the animations we want for that character.
“Characters have a varying number of animations – Abe has over 150 different animations, for example, since he’s the main playable character and he needs to get in to and out of a lot of situations. A character like the Scrab has about a third of that, since all of their motion is controlled by the game.
“Once the blockout for an animation is where I want it, I’ll create keyframes for the outlines of the bones, and I’ll block out the best poses. You have to exaggerate some animations to make the motion more pronounced and obvious — and to make it feel like the character has weight and fluidity. I’ll smooth the tweening of the animation as a final polish step, and then export out that animation out to Unity3D, ready to be hooked up and reviewed in the game.”
Colin: “Environment art sculpting work depends on the area you’re working with. For Rupture Farms and the artificial assets that it needs, you can do what you need to almost entirely through Autodesk Maya. There are lots of hard surfaces and harsh edges, so to do any detailed sculpting would be time-consuming for no real increase in quality. Areas like Monsaic Lines and Scrabania need more organic shapes, and we’d use Maya in tandem with ZBrush for sculpting.
“Of course, it’s not always as clear cut as this — there are some of the large exterior objects that haven’t been sculpted, since they don’t need that level of detail. Each of the artists here gets to use their own discretion to decide how far they want to go with the tools we have available.
“In terms of environment workflow, we start each level from a simple collision blockout. This lets us see where all the major paths and gameplay features will be, and paves the way for a more detail blockout pass. In that pass, we use rough geometry pieces to get a better idea of scene composition, as well as where we should focus most on background scene dressing, and also the best locations for set-pieces or areas to focus the player’s eye.
“With this done, we make our way through each scene with a focus on the most important aspects: geometry for the gameplay areas, like paths and platforms, then interactive objects, like grenade dispensers and bee hives. After those are in place, we run over the non-essential background pieces.
“With all the geometry in place, it’s time for the lighting passes, and the largest effort towards getting that awesome Oddworld atmosphere in place. We’re nearly finished with the scene once this is done, and we’d be doing one final pass to add in the extra details — decals, debris, flora/fauna, and effects that really pop the scene to life.”
Tom: “So, the characters in New ‘n’ Tasty are, mostly, taken from Munch’s Oddysee HD. I took each model and cleaned it up in Autodesk 3DS Max so we could use it as a base. Then I exported it out into ZBrush and upped the detail as much as I could, using the built-in retopology system to maximum effect.
“Once that was done, I’d make a new and lower polygon version of the character for game use, and then skin both characters using as much of the original textures as possible. Abe was a slightly different case — although I’d started with his Munch HD model, we suddenly found the original, highest resolution model that was used in the Abe’s Oddysee cut-scenes! So I took that into ZBrush to add more detail where possible, and then exported out as with the others, since we couldn’t have New ‘n’ Tasty without original Abe!
“Wherever it’s been possible, we’ve tried to reuse existing Oddworld assets from earlier games, both to save time and development resources, and to really stick to the look and feel of the previous games.
“When it comes to the cutscenes, I start with the animations and cameras that we’re using in that scene. I take them into 3DS Max and clean up any oddities that I might find or might want to change before use, and then I’ll review the animation and cameras and figure out where the splits need to be for camera cuts. Next, I export out to Unity3D. I set up all the cameras inside Unity, using a plugin called uSequencer Unity Cutscene Creator. There’s a decent amount of camera trickery needed at this point, including setting up all the camera swaps and cuts, but I’d never reveal my secrets!
“Then I start lighting and dressing each scene around the animations and cameras. This process begins with the rough models that we’ll be using for the scene, and I do a basic light pass over the scene for the first few cameras. I’m wanting, at this point, to get the best frame of each camera captured and moved into Adobe Photoshop, where I’ll be getting a feel for how I want the scene. Tweaking lights in Unity is pretty fast, and only takes about 2 minutes – however, tweaking colours in Photoshop takes me about 2 seconds! It’s much less time to get a mock-up of the scene that I’m happy with, and gives me a guide to how I should light the actual scene when I go back to Unity. I even find I get the shots looking better in Unity than they were in Photoshop!
“The next step is special effects. I have a library of custom effects that I’ve made or imported from elsewhere – ground fog, atmospheric smoke, etc. Almost every scene has its own unique requirements, though – whether it’s sparks from Rupture Farms machinery, or even mystical lightning!
“The last step is to dress the scene with everything that will fit the composition. For this step I’ll often be making very unique pieces, that we don’t use anywhere else in the game. However, where possible, I’ll be using environment art pieces that were made for the actual levels — no need to double the effort when the work is done and the quality is there!
“The end result comes closer with each pass and export, until we’re ready to lock in the scene and start with the next!”
And there you have it, Inhabitants! Our second roundtable + dev diary: complete! Got any pressing questions that Alf would just never understand? Wanna know more about the day in the life of the Oddworld/Just Add Water crew? Shoot them our way on Twitter (hashtag #OddDevs) or Facebook or leave it in the comments below! See ya next time!


